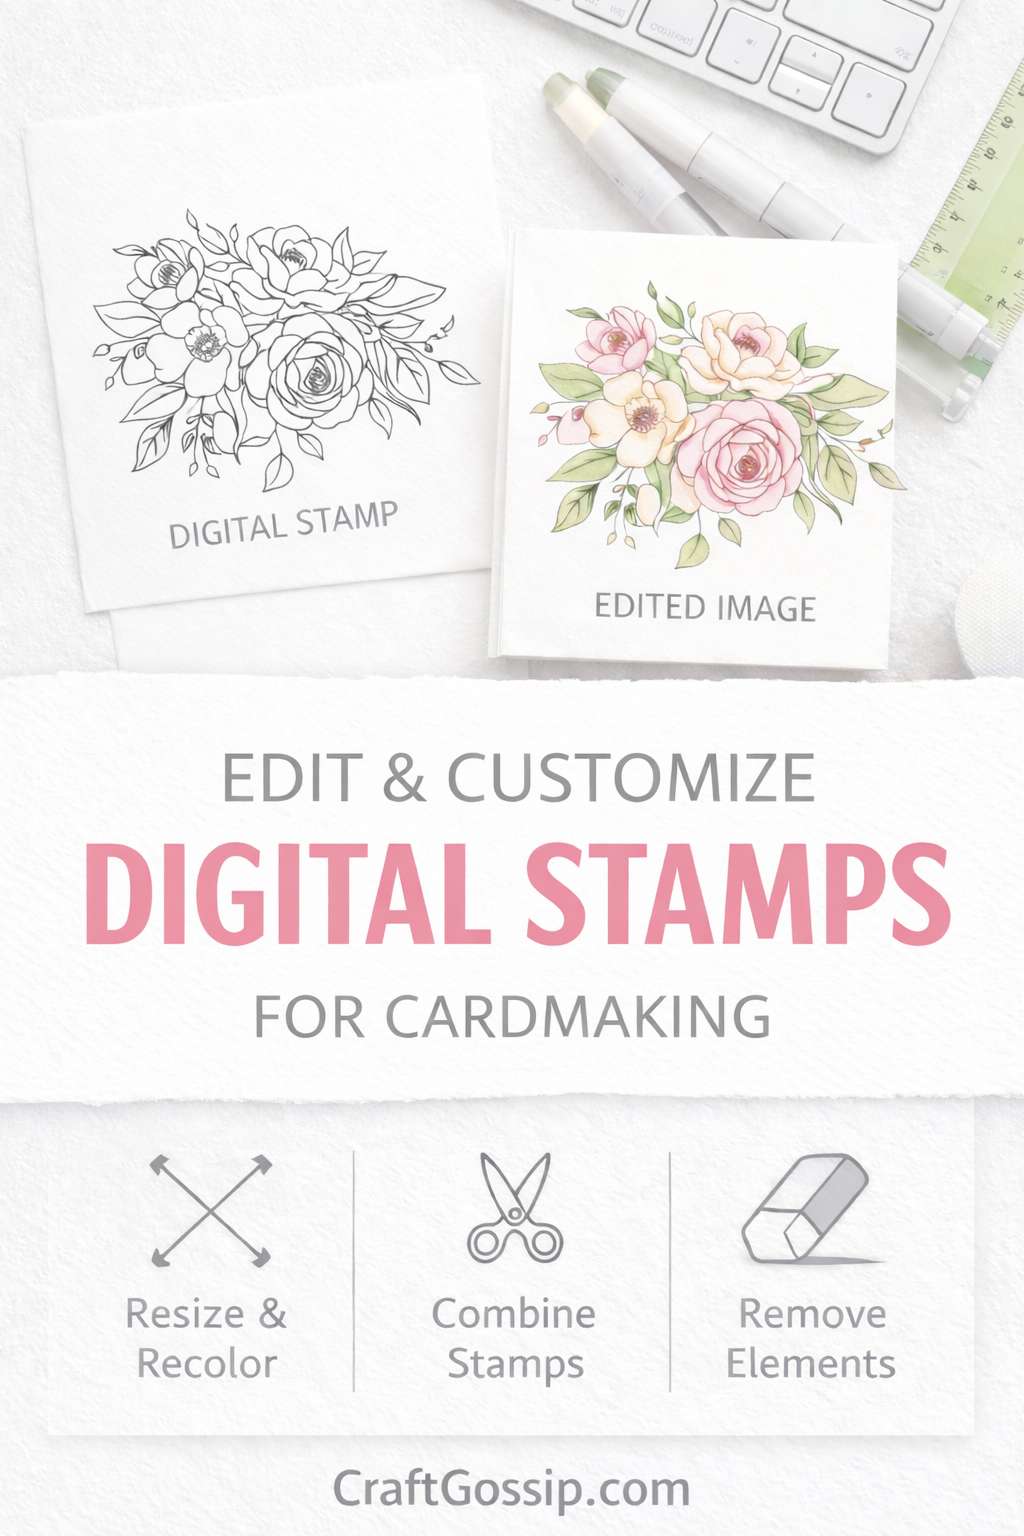
 Digital stamps give cardmakers a level
of creative freedom that traditional stamping simply cannot match. With just a few simple edits, you can resize images, remove elements, combine designs, and customize artwork to perfectly suit your project.
This process, often called “nipping and tucking,” allows you to adjust digital stamps before printing so your layouts look polished, balanced, and completely unique.
If you have ever struggled to fit a stamp onto a card front or wished you could tweak a design slightly, this guide will walk you through exactly how to edit digital stamps like a professional.
What Does “Nipping and Tucking” Mean in Cardmaking?
Nipping and tucking refers to making small adjustments to a digital stamp to improve how it fits your design.
This can include:
- Resizing images
- Cropping parts of a stamp
- Removing small elements
- Combining multiple images
- Adjusting placement
- Changing line color
- Flipping or rotating images
- Creating custom layouts
These simple edits help you get the exact look you want before you even start coloring.
Why Edit Digital Stamps Before Printing?
Taking a few minutes to customize your digital stamps can completely transform your finished card.
Benefits include:
- Better composition
- Cleaner layouts
- More professional results
- Ability to build scenes
- Perfect sizing for card fronts
- Less wasted paper and ink
- Unique one-of-a-kind designs
Once you start editing your stamps, you will quickly see how versatile they can be.
Tools You Can Use to Edit Digital Stamps
You do not need complicated software. There are options for every skill level.
Beginner Friendly Options
- Microsoft Word
- Apple Pages
- Google Docs
- Canva
These tools allow you to resize, flip, and position images easily.
Intermediate Options
- Procreate
- Affinity Designer
- GIMP
Great for layering images and making more detailed edits.
Advanced Options
- Photoshop
- Photoshop Elements
Perfect for removing elements, recoloring, and scene building.
How to Resize Digital Stamps Correctly
Resizing is the most common edit and ensures your image fits your card layout perfectly.
Step by Step
- Insert your digital stamp into your software
- Click and drag the corner handles
- Hold Shift to keep proportions correct
- Resize based on your card size
- Print a test copy
For standard A2 cards, focal images typically look best between three and four inches tall.
How to Crop a Digital Stamp
Cropping allows you to remove unnecessary space or elements.
Steps
- Select the crop tool
- Trim away excess background
- Adjust framing for better composition
This is especially helpful when you only want part of a larger image.
How to Remove Elements From a Digital Stamp
Sometimes a design may have details you do not need.
You can:
- Use an eraser tool
- Cover areas with a white brush
- Mask sections using layers
This helps simplify images or create cleaner focal points.
How to Combine Multiple Digital Stamps
One of the biggest advantages of digital stamps is the ability to build scenes.
Steps
- Open a blank page or canvas
- Insert multiple stamps
- Arrange and resize elements
- Overlap images for depth
- Print once happy with layout
This technique is perfect for creating storytelling cards or detailed scenes.
How to Change Line Color for No Line Coloring
Instead of printing in black, try softer tones.
Popular options include:
- Light grey
- Warm brown
- Soft sepia
- Pale taupe
These colors create a softer painted look when coloring.
How to Flip and Rotate Digital Stamps
Flipping images can help create balance in your designs.
Try:
- Mirroring images for symmetry
- Rotating elements for corners
- Creating repeating patterns
This simple trick makes designs look more dynamic.
How to Create Pattern Paper With Digital Stamps
You can turn any stamp into custom background paper.
Steps
- Duplicate your stamp several times
- Arrange across page
- Rotate slightly for variation
- Print as background
This is perfect for creating coordinated card sets.
Best Printing Tips for Digital Stamps
Getting a clean print makes coloring easier.
Printer Settings
- Use high quality print mode
- Select matte photo paper setting
- Print at full resolution
- Always preview before printing
Paper Choices
For alcohol markers use smooth cardstock.
For watercolor use watercolor paper.
For pencils use lightly textured cardstock.
Creative Ways to Use Edited Digital Stamps
- Card focal images
- Layered scenes
- Scrapbook embellishments
- Planner stickers
- Journaling cards
- Handmade gift tags
- Patterned backgrounds
- Sentiment clusters
Editing opens the door to endless design possibilities.
Common Mistakes to Avoid
- Stretching images out of proportion
- Printing too large or too small
- Using low resolution files
- Skipping test prints
- Flattening layers too early
Avoiding these mistakes will save time and materials.
Pro Tips for Professional Results
- Print multiple sizes on one sheet
- Save original files untouched
- Create templates for repeat layouts
- Keep edited files organized
- Experiment with opacity levels
These small habits make a big difference.
Frequently Asked Questions
Can beginners edit digital stamps?
Yes, resizing and cropping are very simple and beginner friendly.
Do I need special software?
No, basic programs like Word or Canva work perfectly.
Why should I edit before printing?
Editing helps create better layouts and gives you more creative control.
Nipping and tucking digital stamps is one of the easiest ways to improve your cardmaking designs. With just a few simple adjustments, you can transform a single digital image into countless creative variations.
Whether you are resizing for a perfect card front, building a layered scene, or creating custom backgrounds, learning to edit your digital stamps will elevate your handmade projects and give you complete creative control.
Once you start customizing your digital stamps, you will wonder how you ever crafted without it.