If you’ve been searching for how to blend Copic markers smoothly, how to avoid streaks with alcohol markers, or easy Copic marker tips for beginners, this guide is going to save you frustration (and probably a few stamped images).
Copic markers are hands-down one of the most loved tools in cardmaking and stamping. But they can also feel intimidating. They bleed. They layer differently. And the first time your beautiful floral image turns streaky? It’s enough to make anyone close the cap and walk away.
Don’t.
Once you understand how alcohol ink works, Copic markers become one of the easiest coloring mediums to control.
Let’s break down exactly how to use Copic markers properly.
What Makes Copic Markers Different from Regular Markers?
Copic markers are alcohol-based markers, not water-based. That single difference changes everything.
Alcohol ink:
- Blends while wet
• Reactivates when layered
• Soaks into paper fibers smoothly
• Dries quickly but remains workable
Water-based markers sit on top of paper. Alcohol markers move through it.
That’s why Copics are ideal for:
- Stamped card images
• Digital stamps
• Manga and illustration
• Adult coloring books
• Scrapbooking details
If you want seamless gradients and realistic shading, alcohol markers are built for that job.
The #1 Beginner Mistake: Using the Wrong Paper
If your blending looks streaky, patchy, or feathered, your paper is likely the culprit.
The best paper for Copic markers is:
- Alcohol marker blending cardstock
• Copic-friendly smooth paper
• Coated marker paper
Regular cardstock absorbs ink unevenly, which causes streaks and harsh lines.
And yes — Copics bleed through. That’s normal. Always place scrap paper underneath your project.
Switching paper alone can dramatically improve your blending results.
How to Blend Copic Markers Smoothly (Step-by-Step Method)
You do NOT need a giant marker collection to blend beautifully. Two or three shades in the same color family is enough.
Here’s the simplest Copic blending technique for beginners:
- Start with your lightest shade and fully saturate the area. Don’t be timid — blending works best when the surface is damp with ink.
- Add your darker shade where shadows naturally fall — edges, folds, under petals, beneath hairlines.
- Immediately go back in with your lightest marker and gently blend over the line where the two colors meet.
The key to smooth Copic blending is timing. Work while the ink is still wet so it reactivates and merges seamlessly.
Wait too long, and you’ll see visible transitions.
How to Avoid Streaks with Copic Markers
Streaks are the most common beginner frustration.
They usually happen because of:
- Not enough ink saturation
• Straight-line strokes
• Paper that absorbs unevenly
To prevent streaking:
- Use small circular motions instead of back-and-forth strokes
• Fully fill your section with your base color
• Work in smaller sections
• Add layers for depth instead of pressing harder
Pressing harder will damage the nib. It won’t create smooth shading.
Build color through layering — not pressure.
How to Layer Copic Markers for Realistic Depth
Layering is what makes coloring look professional instead of flat.
Instead of trying to get bold color in one pass:
- Apply a light base layer
• Let it settle briefly
• Add darker shading in shadow areas
• Blend back gently with your lightest shade
Each layer deepens tone naturally.
This works beautifully for:
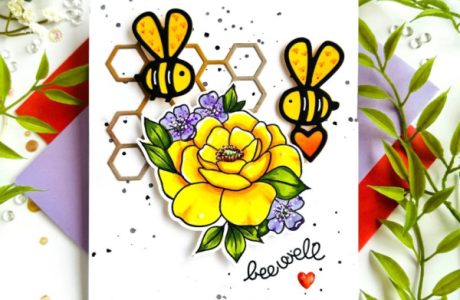
- Flower petals
• Leaves
• Hair strands
• Clothing folds
• Skin tones
Layering creates dimension without muddying colors.
Easy Copic Shading Rule for Beginners
If shading feels confusing, simplify it.
Pick one imaginary light source.
Add darker color on the opposite side of where the light would hit.
For example:
- Shade under the chin
• Darken beneath overlapping petals
• Add depth under sleeves and folds
• Deepen the base of leaves
Consistency in shadows instantly elevates your coloring.
How to Use the Copic Colorless Blender Properly
The colorless blender does NOT mix two colors together.
It:
- Pushes ink outward
• Lightens areas
• Lifts excess ink
• Softens harsh lines
• Creates highlight effects
Use it to:
- Add highlights to berries
• Create subtle fabric textures
• Correct small over-colored areas
• Fade strong blend lines
Think of it as a correction and special effects tool.
How Many Copic Markers Do You Really Need?
You do not need 200 markers to get beautiful results.
A beginner Copic set of 12–24 markers is perfect.
Focus on:
- Light, medium, dark sets within key color families
• Skin tone basics
• Greens for foliage
• Neutral grays
Build intentionally based on the images you color most often.
It’s smarter — and easier on the budget.
How to Store and Care for Copic Markers
Copic markers are refillable and nib-replaceable, which makes them a long-term investment.
Store them horizontally so ink distributes evenly.
Keep caps tightly closed.
Replace worn nibs instead of discarding markers.
With proper care, Copics can last for years.
Best Projects to Practice Copic Coloring
If you’re learning how to use Copic markers, start small.
Great beginner practice ideas include:
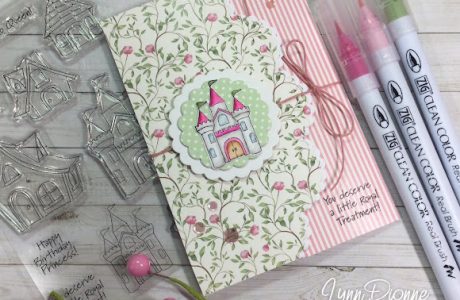
- Floral stamped images
• Simple digital stamps
• Printable coloring sheets
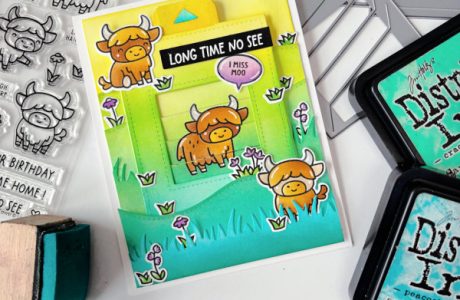
• Small character illustrations
Smaller designs let you focus on blending technique instead of feeling overwhelmed.
And always test colors on scrap paper first. That habit alone saves countless mistakes.
Why Copic Markers Are Worth the Investment
Once you master basic Copic marker blending techniques, you’ll understand why they’re a staple in the stamping and cardmaking community.
They deliver:
- Vibrant, saturated color
• Seamless gradients
• Professional-looking shading
• Refillable long-term value
Smooth coloring isn’t about owning every shade.
It’s about understanding alcohol ink.
Start with two markers. Practice blending while wet. Layer gently.
The difference between streaky and stunning often comes down to just a few small technique adjustments.
And now you know exactly what they are.