Continuing on with our month of Inkadinkado stamps this is what I’ve really been waiting for, a chance to share an exclusive look at brand new not yet released stamps! This entire month there will be four weeks of ideas, inspirations and giveaways! Join me every Monday in October for samples and ideas using new Inkadinkado stamps and every Wednesday there will be fantastic prize package giveaways! If you missed last weeks Party post click here to check it out.
This week I got a chance to play with some of the new Inkadinkado Background Cling Collection stamps and let me tell you they are fantastic! Please scroll down all the way to check out all my samples.
Each set comes with a very large 6″x6″ stamp, a long border stamp and several other coordinating stamps. These sets are cling mounted meaning they are deeply etched red rubber on a foam backing that has cling on it so they adhere onto clear blocks. One of the things I loved best about these stamp is the image label is printed directly onto the back so you can tell exactly where you are stamping! I think these stamps are really the best combination of what I love about wood mounted stamps and what I love about clear stamps. They are very sturdy and stamp perfectly but they are slim and easy to store. And because they are cling they can curve a bit making it easy to stamp on rounded objects.
These large stamps are wonderful for not only paper crafts like cards and scrapbooking but they are perfect for home decor projects too. My first sample shown above is a fabric collage. I stamped the large butterfly stamp from the Insect Amalgam Cling Set with brown Staz- On ink onto unbleached muslin and colored it with Sharpie markers. You could also use fabric markers. I pinned the stamped fabric to another piece of muslin and hand stitched around the butterfly with embroidery floss. I stopped when I had stitched almost all the way around and stuffed batting in between the layers of fabric to give it some dimension. The close up side view below shows this. I stamped the word onto Sticky Back Canvas and stitched on some buttons and then placed the fabric inside an embroidery hoop. Now I have a great piece of hand stamped art work for my wall. (ed. note: sorry, photo removed for publication)
My next project is some fun name place cards for a garden party. I used some of the smaller stamps from the Insect Amalgam set, coloring them with markers, adding glitter and cutting them out. I added them to small folded cards with layers of cardstock and pattern paper and stamped each persons name on them. These are a fun quick way to add a nice touch to any party table.
Using the largest stamp from the Regal Tiles Cling Set I want to make another home decor project. This one was really quick and easy but turned out really cool. I bought an inexpensive ceramic tile from the hardware store and stamped on it with Staz-On ink. Simple but elegant! You can seal these with clear spray and put felt feet on the back and you’ve got some wonderful coasters or decorative tiles.
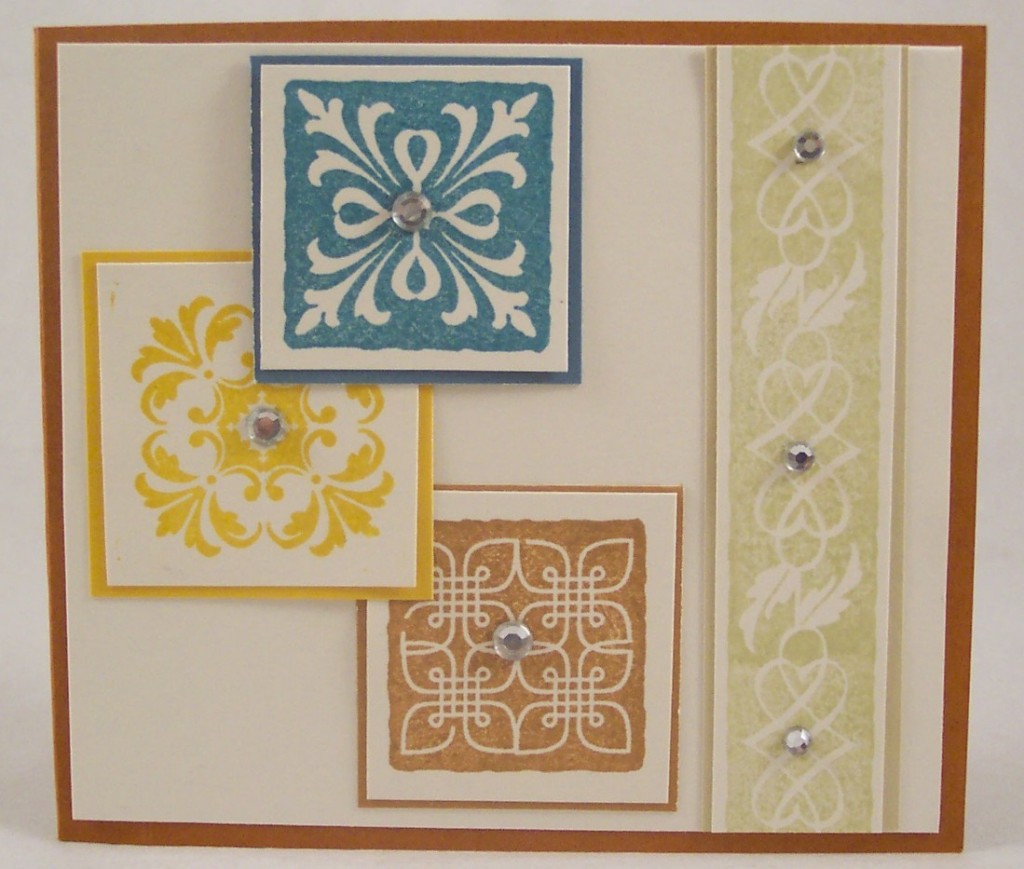
For my last project I used the border stamps and some of the smaller tiles from the Regal Tile set and made a card. A few rhinestone add a little bling.
To go along with these new cling sets Inkadinkado has released something I’ve been on the lookout for and that’s a really large clear block, it measures a whopping 6″x6″. And best of all it’s not a bulky, thick block, the best way to describe it is a heavy-duty plastic “tray”, which actually makes it easy to get a lot of pressure that you sometimes need when stamping with really bog stamps. It’s also got grids for easy alignment, I love that.
I hope you’ve enjoyed this sneak peek at some of the fabulous things Inkadinkado has in store for us! Be sure to come back here to the stamping blog this Wednesday for a chance to win some of their brand new Background Cling sets!
-Heather


Leave a Reply