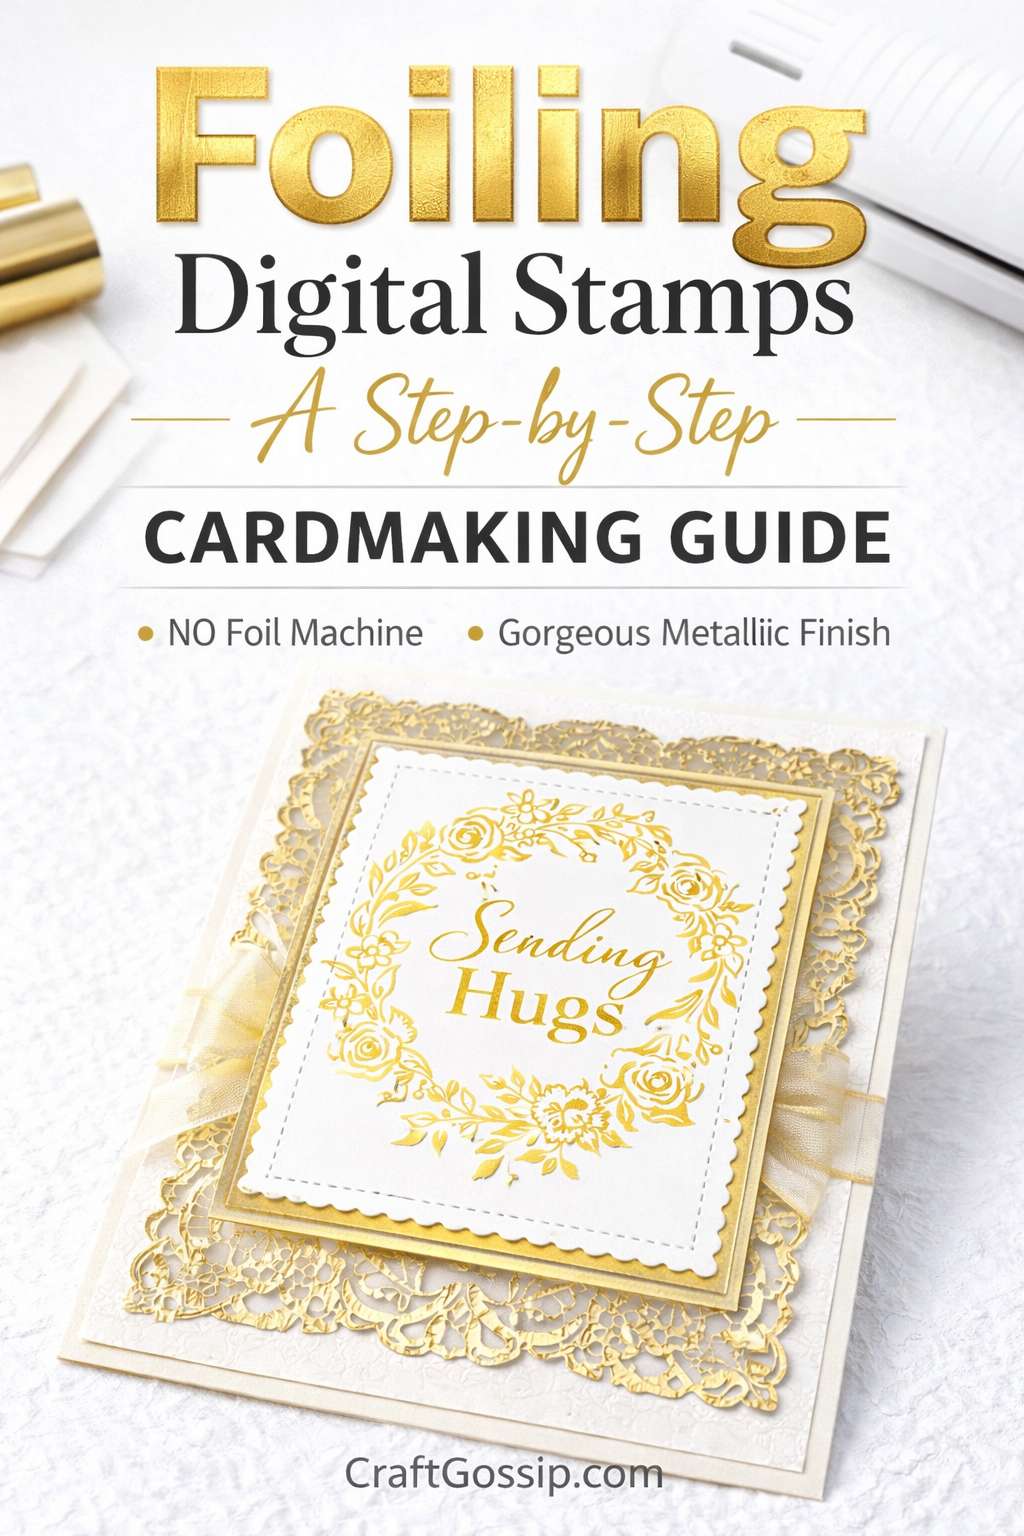
I recently did a review for the Glaminator Foiling and Laminating machine from Xyron, you can find it here if you missed it, and I’m continuing to use and love it! One technique I’ve been doing is foiling digital stamps, it will add shimmer and shine to even the thinnest lines of a digital image. And it’s perfect for all coloring mediums because the foil can’t smudge or smear!
If you’ve ever printed a digital stamp and thought, “It’s lovely… but it needs a little sparkle,” then you’re going to love this technique. Learning how to foil digital stamps at home is one of the easiest ways to add a professional metallic finish to handmade cards, wedding invitations, scrapbook layouts, and printable embellishments.
The best part? You don’t need a fancy hot foil machine. With a laser printer and a simple laminator, you can create stunning gold, silver, rose gold, or holographic foil effects right from your craft desk.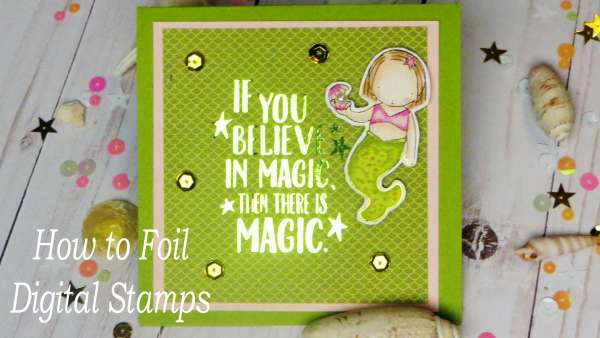
If you’re a cardmaker who loves elegant details without complicated tools, this DIY foiling method is a game-changer.
What Are Digital Stamps?
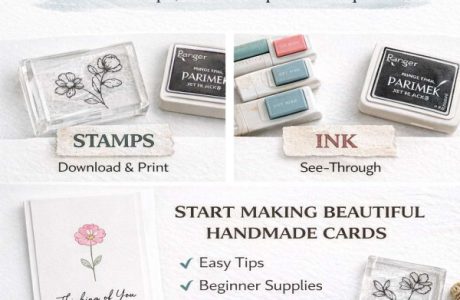
Digital stamps (often called digi stamps) are downloadable stamp designs that you print instead of stamping with traditional ink. Because they’re digital files, you can resize them, flip them, layer them, and print as many copies as you need.
They’re perfect for:
- Handmade greeting cards
- Scrapbook titles and embellishments
- Wedding invitations
- Printable gift tags
- Planner dashboards and inserts
When you add foil to digital stamps, they instantly look more polished and high-end.
Why Foil Digital Stamps?
Foiling digital stamps gives you a metallic, reflective finish that catches the light beautifully. It’s especially popular for:
- Foiled sentiment strips
- Elegant wedding invitations
- Christmas cards with gold snowflakes
- Floral digital stamp designs
- Monograms and decorative typography
This technique works because foil adheres to the toner from a laser printer, creating crisp, shiny results.
Supplies Needed to Foil Digital Stamps
To foil digital stamps at home, you’ll need:
- Laser printer (inkjet printers will not work)
- Foil transfer sheets (gold, silver, copper, holographic, etc.)
- Laminator
- Smooth cardstock
- Scissors or paper trimmer
Important tip: Foil sticks to toner, not ink. That’s why a laser printer is essential for successful foiling.
Step-by-Step: How to Foil Digital Stamps
Step 1: Print Your Digital Stamp
Open your digital stamp file and print it using a laser printer. Set your printer to the highest quality or darkest print setting to ensure there’s plenty of toner on the page.
Allow the printed sheet to cool completely before moving on.
Step 2: Cut and Position the Foil
Cut a piece of foil slightly larger than your printed design. Place the foil shiny side up over the printed image.
Make sure the foil covers the entire area you want to foil.
Step 3: Protect and Prepare for Laminating
Place your cardstock with the foil on top inside a folded sheet of plain copy paper or parchment paper. This keeps everything from shifting while it goes through the laminator.
Preheat your laminator fully before inserting your project.
Step 4: Run Through the Laminator
Feed the protected sheet slowly through the laminator. If your laminator runs cool, you may need to run it through twice for full coverage.
Step 5: Peel and Reveal
Allow the sheet to cool slightly, then gently peel away the foil sheet. The metallic finish should now appear only on the printed toner areas.
It’s honestly one of the most satisfying moments in cardmaking.
Best Tips for Perfect Foiling Results
- Use smooth cardstock for clean, crisp lines.
- Make sure your laminator is fully heated before starting.
- Increase printer density for better toner coverage.
- Store foil sheets flat to avoid wrinkles.
- If coverage looks patchy, run it through the laminator a second time.
Foiling detailed digital stamps with thin lines works best when the toner coverage is rich and dark.
Creative Ways to Use Foiled Digital Stamps
Once you’ve mastered how to foil digital stamps, you’ll find endless ways to use them:
- Foiled sentiments for birthday cards
- Metallic wedding invitation accents
- Scrapbook page titles with shine
- Holiday cards with gold or silver designs
- Foiled gift tags for Christmas or special events
Gold foil paired with floral digital stamps creates a timeless, elegant look that’s perfect for almost any occasion.
Common Foiling Mistakes to Avoid
- Using an inkjet printer instead of a laser printer
- Laminating before the machine is fully heated
- Using textured cardstock
- Peeling the foil before it cools
If your foil appears patchy, it’s usually due to low toner coverage or uneven heat.
Is Foiling Digital Stamps Worth It?
Absolutely. If you want your handmade cards and paper crafts to look boutique-quality without investing in expensive tools, foiling digital stamps is one of the easiest upgrades you can make.
It’s beginner-friendly, affordable, and delivers instant impact. Once you try it, you’ll start looking at every digital stamp and imagining it in gold, silver, or holographic shine.
Foiling digital stamps is one of those simple cardmaking techniques that makes your projects feel extra special — and honestly, we all love a little sparkle now and then.
I created this fun Mermaid card using digital stamps with green and gold foiling, check out my Youtube video to learn more, or watch it down below.
Looking for more digital stamps and SVG files? We love using the Design bundle to download our digital stamps. Make sure you check out their free section for free digital stamps. These free digital stamps and SVG files change all the time and you can grab some great seasonal stamps as well as everyday digital stamps and fonts that you can use.

Looking for more discussions about Card making? Check out our Facebook group for cardmaking.
-Heather


i love it