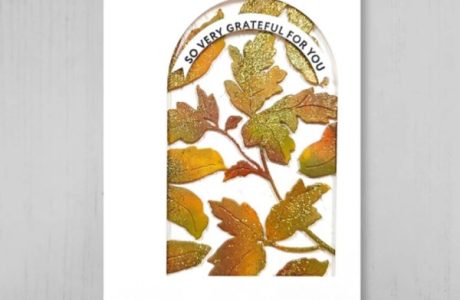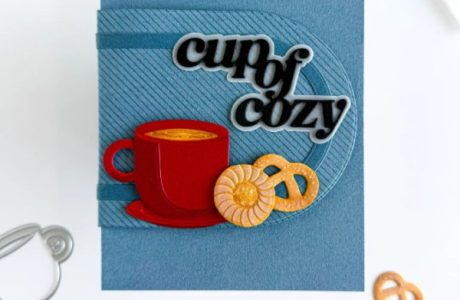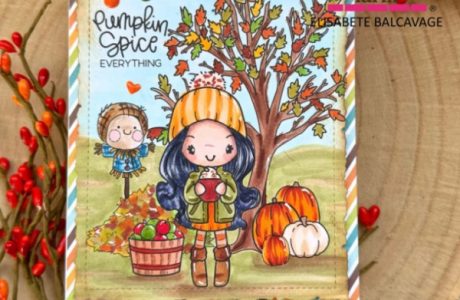
If you’ve ever wanted to start making handmade cards but felt overwhelmed by all the supplies, you’re not alone.
Walk into any craft store (or scroll online for five minutes) and suddenly you’re staring at hundreds of stamps, dozens of ink pads, embossing powders, blending tools… and wondering if you need all of it just to make a birthday card.
You don’t.
This is your complete, no-fluff guide to card making basics using stamps — what you actually need, how to use it, and how to create beautiful beginner-friendly cards without filling your spare room with supplies.
Let’s simplify stamping.
What You Really Need to Start Card Making with Stamps
If you’re brand new to stamping, start here.
Basic Card Making Supply List
- One clear stamp set (floral or sentiments)
• One black ink pad (quick-drying dye ink)
• Smooth white cardstock (200–250gsm)
• Acrylic stamping block
• Paper trimmer
• Adhesive
That’s it.
You do not need:
• 20 ink colors
• Fancy dies
• A cutting machine
• Layering systems
Start small. Add slowly.
Types of Stamps for Beginners
Understanding the different types of stamps helps you avoid buying the wrong thing.
Clear Stamps (Best for Beginners)
These are transparent photopolymer stamps that stick to an acrylic block.
Why they’re great:
• You can see exactly where you’re stamping
• Easy to align sentiments
• Compact storage
Most beginners find these easiest to work with.
Rubber Stamps (Classic Option)
Wood-mounted rubber stamps are sturdy and durable.
Pros:
• Crisp impressions
• Long-lasting
Cons:
• Bulky storage
• Fixed size
They’re wonderful but not necessary to start.
Digital Stamps (Modern Option)
Digital stamps are printable designs you download and print at home.
Pros:
• Resize anytime
• No storage space
• Budget-friendly
• Instant download
Cons:
• Requires a printer
• No embossing capability
If you prefer flexibility and minimal clutter, digital stamps are a smart choice.
How to Use Stamps for Card Making (Step-by-Step)
Let’s walk through the basic stamping process.
Step 1: Prepare Your Card Base
Cut cardstock to 8.5 x 5.5 inches and fold in half to create a standard A2 card.
Or use pre-made card bases if you want it even easier.
Step 2: Ink Your Stamp Properly
Press the stamp gently into your ink pad.
Do not:
• Press too hard
• Twist the stamp
• Over-ink
You want even ink coverage, not saturation.
Step 3: Stamp with Even Pressure
Place the stamp straight down onto cardstock.
Apply gentle, even pressure across the surface.
Lift straight up.
Resist the urge to wiggle — that causes blurry impressions.
Step 4: Let It Dry
Even fast-drying ink needs a few seconds.
Don’t touch it immediately.
5 Beginner-Friendly Stamping Techniques
Once you’re comfortable stamping, try these simple techniques.
1. Single Focal Image Card
Stamp one image in the center.
Add a sentiment below.
Mat on colored cardstock.
Done.
Clean. Elegant. Reliable.
2. Repeated Background Stamping
Take a small image and stamp it repeatedly across the card front.
Instant patterned paper.
Perfect for:
• Birthday cards
• Holiday designs
• Masculine cards
3. Tone-on-Tone Stamping
Use ink slightly darker than your cardstock.
Subtle and sophisticated.
Great for sympathy cards and weddings.
4. Simple Heat Embossing
Stamp with embossing ink.
Add embossing powder.
Heat until shiny.
Adds instant elegance without complexity.
5. Ink Blending + Silhouette
Blend soft ink in the background.
Stamp a black silhouette on top.
Looks advanced — surprisingly simple.
Choosing the Right Ink for Card Making
Not all ink pads are the same.
Dye Ink
- Fast drying
• Beginner friendly
• Great for everyday stamping
Pigment Ink
- Slower drying
• Ideal for embossing
• Richer color
Start with one quality black dye ink.
You can build from there.
Common Beginner Stamping Mistakes
Let’s prevent frustration before it happens.
- Using thin printer paper
• Pressing too hard
• Not cleaning stamps
• Overcrowding designs
• Skipping test stamping
Stamping improves quickly with practice.
Don’t judge your first card too harshly.
How to Make Your First Handmade Card
Here’s a foolproof formula:
- White card base
- One floral stamp
- Black ink
- Simple sentiment
- Optional mat layer
Keep it simple.
Confidence grows from repetition.
Frequently Asked Questions About Card Making Basics
What is the easiest stamp for beginners?
Clear photopolymer stamps are easiest because you can see placement.
Do I need expensive supplies to start card making?
No. Quality cardstock and one good ink pad matter more than quantity.
Can I make professional-looking cards with simple stamping?
Absolutely. Clean layouts and good ink application create polished results.
How do I avoid smudging my stamped image?
Use quick-drying dye ink and avoid touching immediately after stamping.
The Truth About Card Making Supplies
You don’t need everything.
The crafting world can make it feel like you do — but you don’t.
Start with the basics. Master simple stamping techniques. Learn what you enjoy.
Then expand your collection intentionally.
Card making is meant to be relaxing, creative, and joyful.
Not overwhelming.
And the most beautiful handmade cards often come from the simplest stamped designs.