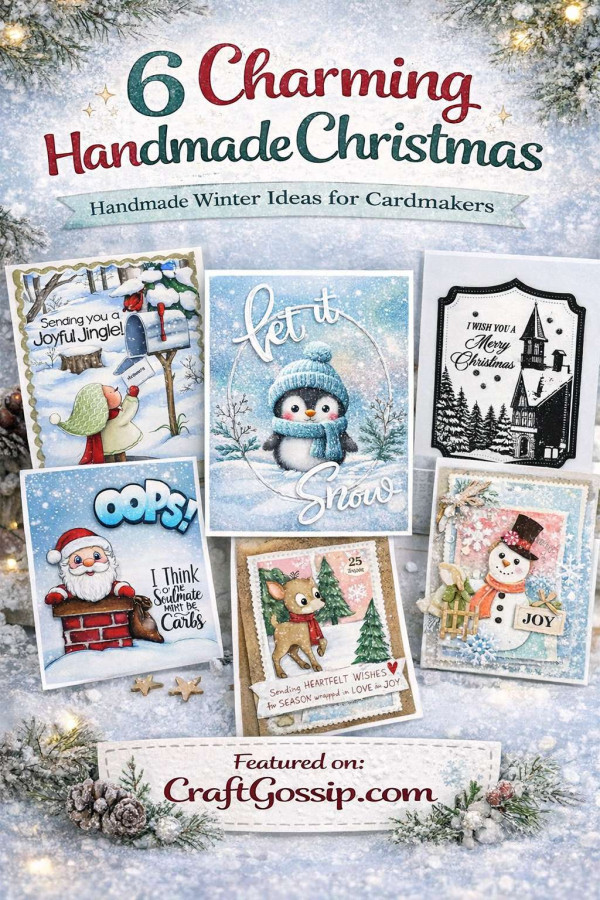
We’ve already had a few snowfalls where I live so hopefully we’ll have a white Christmas this year. But even if you don’t get snow where you live you can still bring a serene scene of snow to your family and friends on your handmade Christmas cards. Create cards with snowmen, focus on snowflakes, birds on snowy branches, children sledding down slopes and lit up houses sitting in drifts of snow for beautiful wintery Holiday designs. Let’s take a look at some wonderful Snowy Christmas Card examples to get inspired.
Below each photo is a link, click it for more details like products used, video tutorials and techniques.
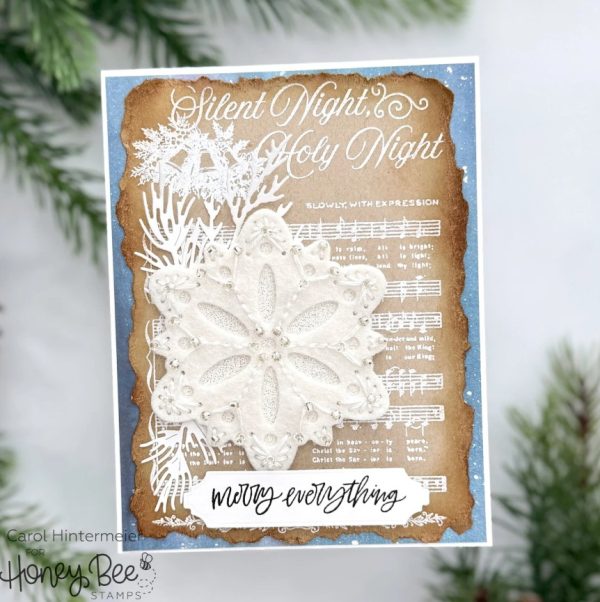
Carol’s lovely Christmas card features a large die cut felt snowflake with stitching and beads for sparkle. The torn Kraft background has a white heat embossed music sheet for Silent Night with frosty bells and splattered blue card base. Find all the details at the Honey Bee Stamps blog.
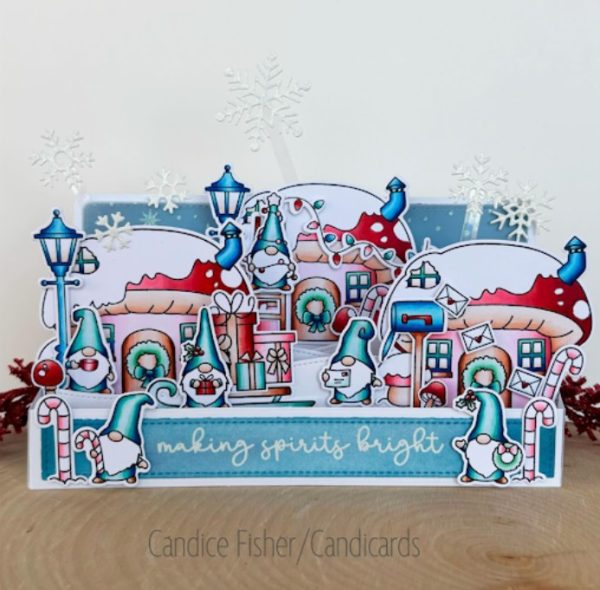
This jaw dropping dimensional box card from Candice has lots of gnomes being Christmasy around their snowy homes. This stamped mushroom village has lights, wreaths, lamps, candy canes, Gnomes that are busy getting ready for the Holidays and large die cut snowflakes hanging above. Take a closer look at the Mama Elephant blog.
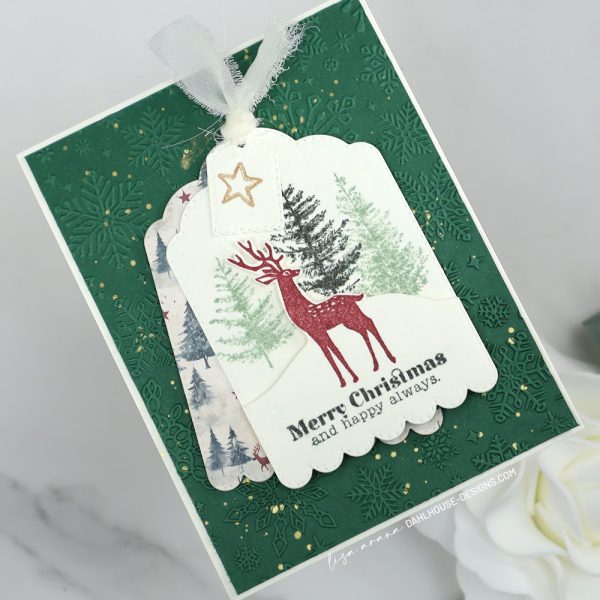
Lisa’s pretty card has a dry embossed green snowflake background with two tags over top. One tag is die cut from pattern paper the other is stamped, I love how she cut around the top of the deer and then cut a hill for a dimensional look. Watch her tutorial video at the Unity Stamps blog.
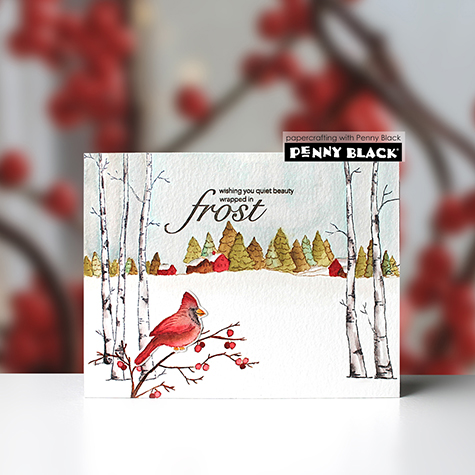
The red Cardinal really pops among all the white snow on Jill’s beautiful card design. She’s also stamped some birch and pine trees and a group of red houses in the distance, water coloring her images for a soft wintery look. Learn more at the Penny Black Inc. blog.
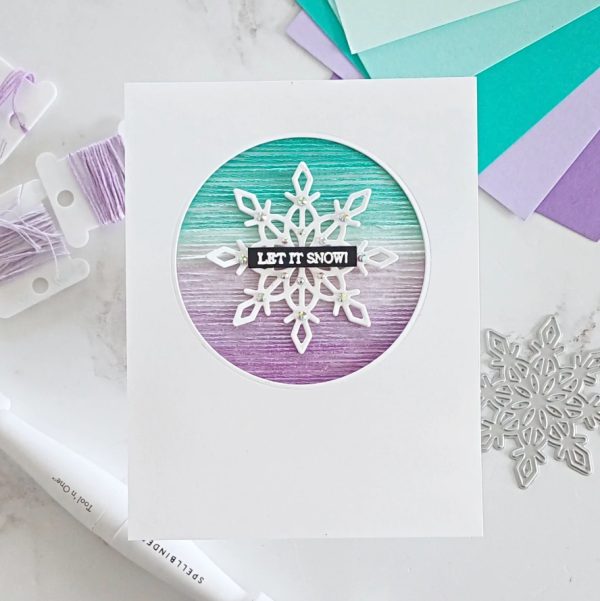
A single large snowflake can make such a statement like on Lisa’s lovely design. The ombre’ backdrop of teal and purple is so unique, she wrapped embroidery floss around paper to create it. There’s also a heat embossed sentiment and some gems for shimmer. Watch her video tutorial at the Hero Arts blog.
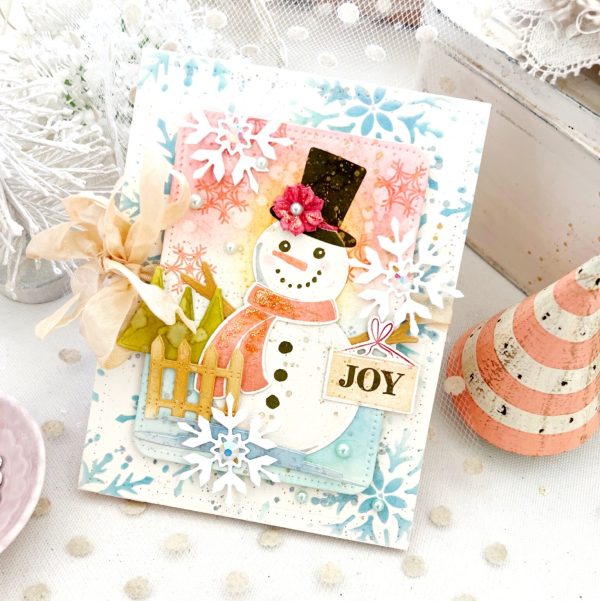
Melissa combines stamping, stenciling and die cutting for her sweet snowman card. She included so many layers with the stenciled snowflake base, die cut, inked and stamped tag, and the die cut snowman with stamped accents. The large die cut snowflake with gems, ribbon and faux stitching add nice texture too. Find step by step directions at the Papertrey Ink blog.
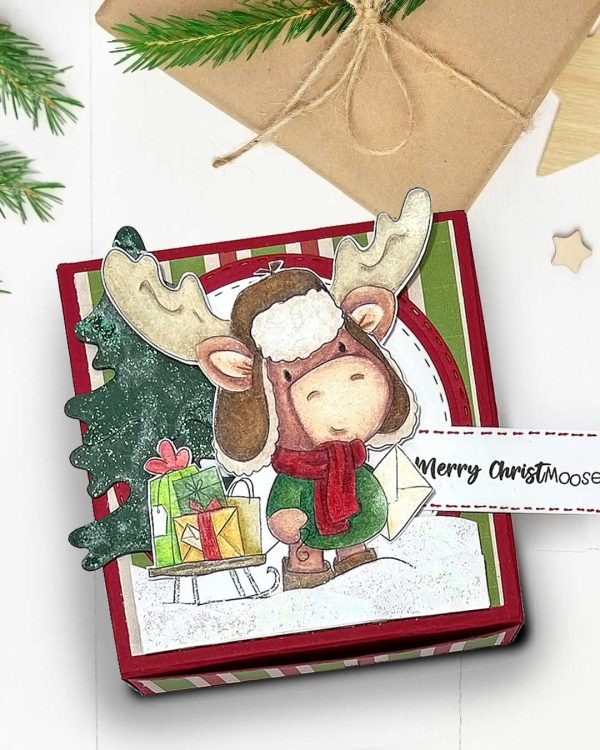
This cute Moose is pulling his sleigh through the snow to deliver his Christmas gifts. Judy used digital stamps to create this scene with a die cut pine tree, adding lots of glitter for the snow including a layered die cut circle background. I adore the puny “Merry ChristMoose” sentiment! Find more info at the Polkadoodles blog.
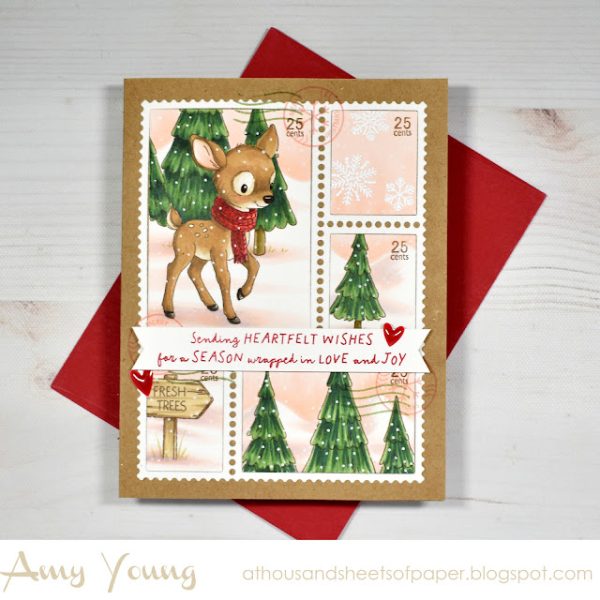
Amy used new stamps from Hello Bluebird to create her darling and trendy faux postage Christmas card. In each section there’s a little snowy scene with trees, a sign and a cute deer along with postage cancelations on the die cut postage sheet. Find all the details at A Thousand Sheets of Paper blog.
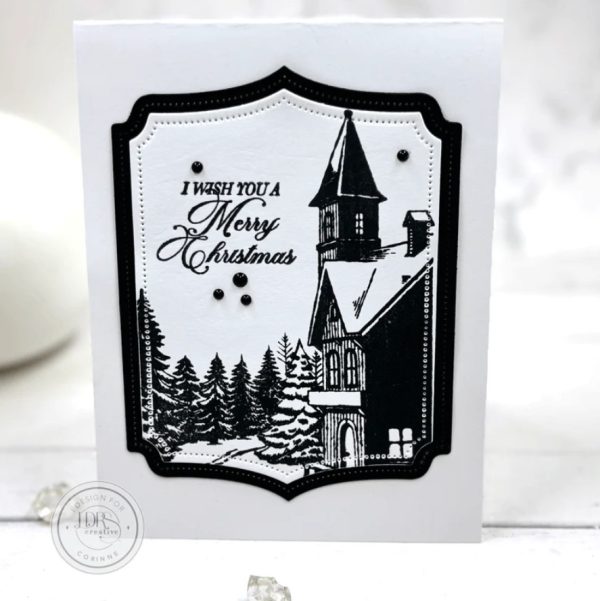
Corinne’s beautiful card has a large stamped snowy scene and sentiment stamped in black with a few black gems added. She die cut the panel and another slightly larger panel from black with a pinpoint frame die, adding it to a white base. This is a simple but effective way to create an elegant snowy card! Find more info at the LDRS Creative blog.
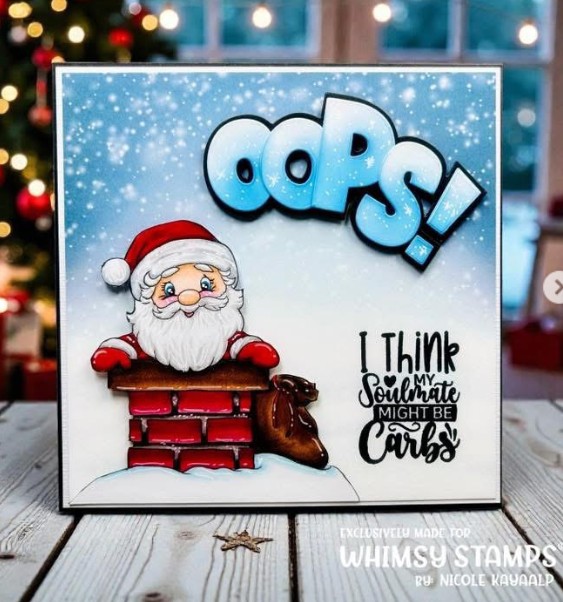
Santa has eaten a bit too much before delivering packages and has gotten stuck in a chimney on Nicole’s hilarious card. She used digital stamps for her snowy roof scene and funny sentiment along with the die cut “OOPS!”. I spotted her idea on the Whimsy Stamps Instagram page.
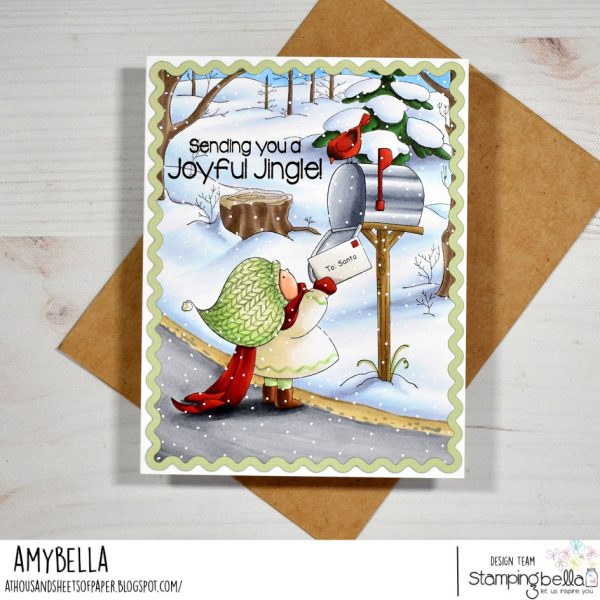
Amy used a masking technique to add the stamped girl mailing her letter to Santa into the stamped background scene. Notice how she added green ricrac to the girls dress to go along with the ricrac edge die she used to cut out the scene, it’s a perfect way to tie everything together. Find more info at the Stampingbella blog.
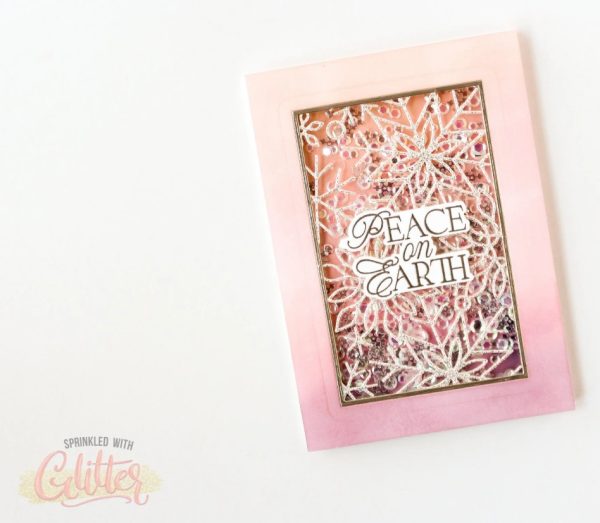
Wow, this amazing shaker card from Carissa is full of glittery snowflakes. She die cut them from glitter paper that has adhesive on the back to easily add them to the front acetate piece, there’s also a thin silver frame around them, silver stacked die cut sentiment and a pink ink blended card front. Watch her how to video at the Sprinkled with Glitter blog.
If you aren’t able to enjoy a snowy Christmas I hope you’ll try creating one on your cards instead.
-Heather
You can shop some of our affiliate companies mentioned in this post: