Let’s be honest — sometimes we don’t want a complicated, 47-layer masterpiece.
Sometimes we just want to sit down with a cup of tea, pull out a stamp set, and make something simple and beautiful in under 30 minutes.
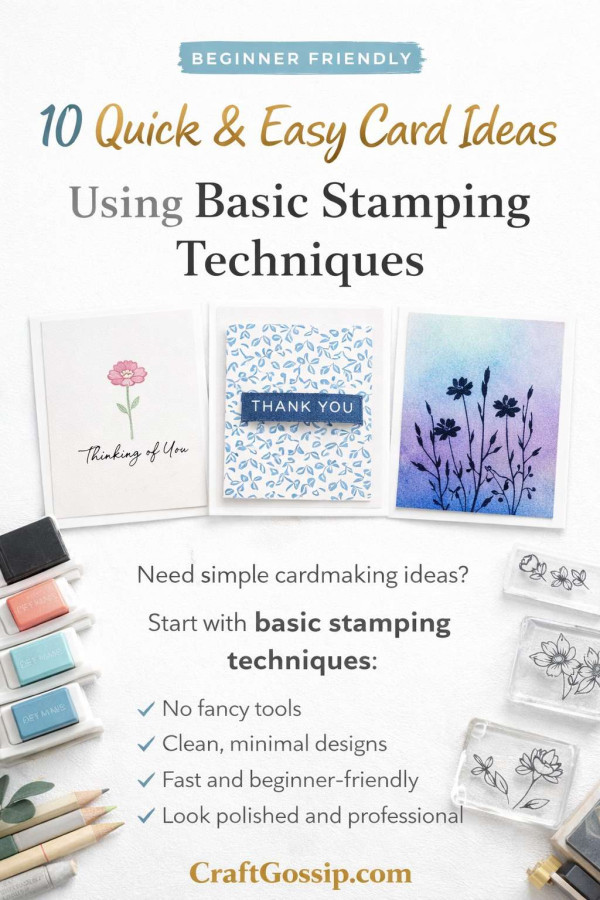
If you’ve been searching for quick and easy cards using basic stamping techniques, this guide will walk you through timeless stamping methods that work every single time — even if you’re brand new to cardmaking.
No fancy machines.
No complicated dies.
No overwhelm.
Just classic stamping techniques that actually look polished.
Why Simple Stamping Techniques Work So Well
When you strip cardmaking back to basics, you focus on three things:
- Good stamps
• Quality ink
• Clean layout
That’s it.
Basic stamping techniques are perfect for:
- Beginner cardmakers
• Batch card making
• Last-minute birthday cards
• Thank-you notes
• Holiday card sets
• Crafting with limited supplies
And honestly? Sometimes simple cards look more elegant than overly busy ones.
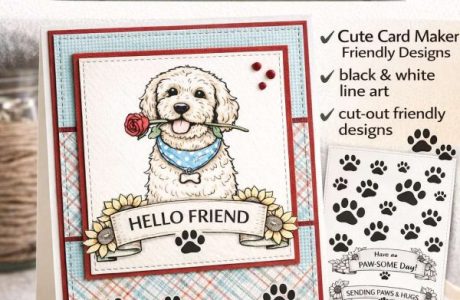
1. Single Image Focal Point Technique
This is the easiest stamping method for handmade cards.
How It Works:
Stamp one main image in the center of your card front.
That’s it.
Add a sentiment underneath or heat emboss it for extra polish.
Why It Works:
- Clean and modern
• Beginner friendly
• Easy to color
• Works with florals, animals, or seasonal stamps
Pro tip: Use a stitched rectangle die or matting layer to elevate the look instantly.
2. Repeat Stamping Background Technique
If you’ve ever admired patterned paper but didn’t have the right design — make your own.
How It Works:
Choose a smaller stamp (floral, leaf, star, icon).
Stamp it repeatedly across your card front.
Keep spacing consistent for a clean pattern or stagger for a playful look.
Best For:
- Birthday cards
• Holiday cards
• Slimline cards
• Masculine designs
This technique is especially powerful when you stick to one ink color for a cohesive look.
3. Tone-on-Tone Stamping
This is one of the most underrated basic stamping techniques.
How It Works:
Stamp an image using ink that closely matches your cardstock color.
For example:
• Light pink ink on blush cardstock
• Navy ink on blue cardstock
• Grey ink on white cardstock
The result is subtle and elegant.
Perfect for sympathy cards, wedding cards, or minimalist designs.
4. Layered Stamping (Without the Stress)
Layering stamps sound complicated — but many modern stamp sets are designed to align easily.
How It Works:
Stamp a base layer (usually lighter ink).
Stamp detail layer on top (darker ink).
Florals work beautifully for this.
Pro tip: Use a stamp positioning tool if you’re nervous. It removes the pressure completely.
5. Sentiment-Only Cards
Don’t underestimate a strong sentiment.
How It Works:
Stamp a bold greeting in the center of the card.
Add subtle ink blending or a stamped border around it.
That’s it.
This is ideal for:
- Batch thank-you cards
• Sympathy cards
• Masculine designs
• Quick holiday sets
Sometimes less really is more.
6. Masking Technique (Still Beginner Friendly)
Masking sounds advanced, but it’s surprisingly simple.
How It Works:
Stamp your main image.
Stamp it again on scrap paper and cut it out.
Place that cut-out over the original image.
Stamp another image slightly overlapping.
Remove the mask — and you have depth.
This technique creates layered scenes without complicated tools.
7. Heat Embossing for Instant Elevation
If you want your simple stamped card to look more professional, embossing is magic.
Basic Heat Embossing Steps:
- Stamp with embossing ink
- Sprinkle embossing powder
- Tap off excess
- Heat with heat tool
It adds shine and dimension instantly.
Gold embossing on dark cardstock? Always stunning.
8. Two-Color Stamping
This technique adds visual interest without complexity.
How It Works:
Ink half your stamp in one color.
Ink the other half in another.
Blend lightly where they meet.
Works beautifully for florals and leaves.
9. Ink Blending + Stamped Silhouette
Create a soft ink-blended background first.
Then stamp a silhouette image on top.
This works beautifully for:
- Sunset scenes
• Winter trees
• Floral outlines
• Butterfly stamps
Simple technique. High impact.
10. Quick Batch Card Formula
When you need 10 cards fast, use this formula:
- White card base
• One stamped image
• One coordinating ink color
• Simple sentiment strip
Keep supplies limited and repeat the layout.
Batch stamping saves time and reduces decision fatigue.
Essential Supplies for Basic Stamping
You don’t need a craft room full of products.
Start with:
- A quality clear stamp set
• One or two versatile ink pads (black + neutral)
• Smooth white cardstock
• Acrylic block
• Paper trimmer
That’s enough to create dozens of designs.
Common Beginner Mistakes to Avoid
Even simple stamping has a learning curve.
Avoid these:
- Pressing too hard
• Using cheap cardstock
• Not cleaning stamps properly
• Using the wrong ink for your technique
• Overcrowding the card
Clean space makes stamped images shine.
Frequently Asked Questions About Basic Stamping Techniques
What is the easiest stamping technique for beginners?
The single focal image technique is the simplest and most reliable.
Do I need expensive stamps to make good cards?
No. Quality cardstock and ink matter more than brand names.
Can I make professional-looking cards with simple stamping?
Absolutely. Clean layouts and consistent ink application create polished results.
How do I avoid smudging stamped images?
Use quick-drying ink and avoid touching the image immediately after stamping.
Simple Stamping Is Timeless
You don’t need every tool on the market to make beautiful handmade cards.
Basic stamping techniques work because they:
- Highlight the image
• Keep designs clean
• Save time
• Reduce overwhelm
• Encourage creativity
Sometimes the quickest cards are the ones people keep the longest.
So grab a stamp, choose one technique, and make something today.
Simple doesn’t mean boring.
Simple means done — and done beautifully.