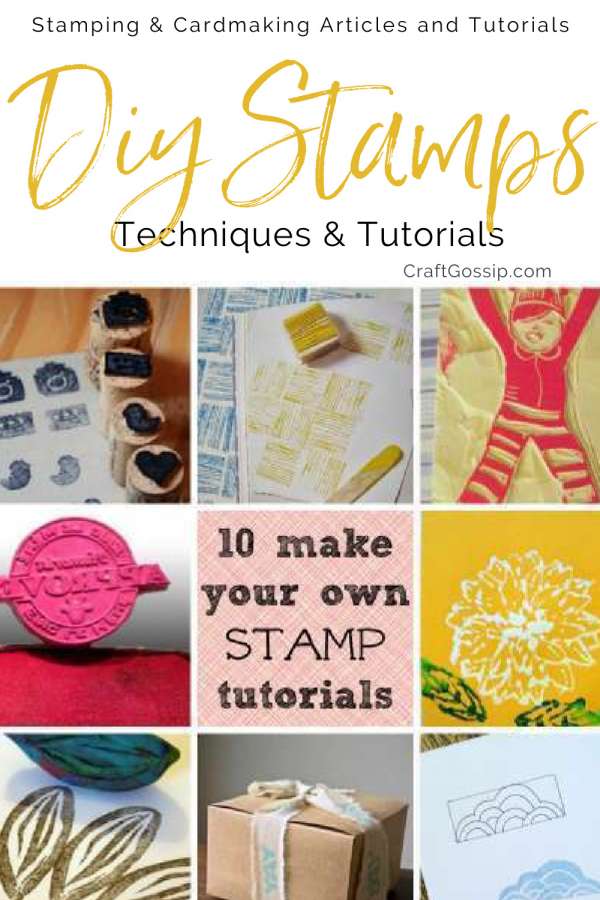
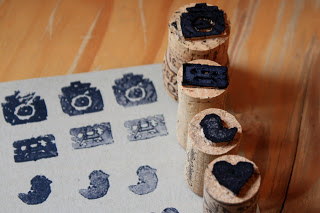
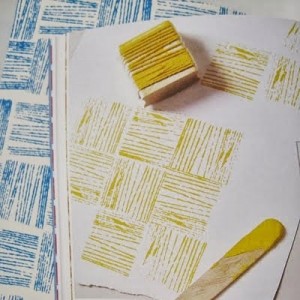
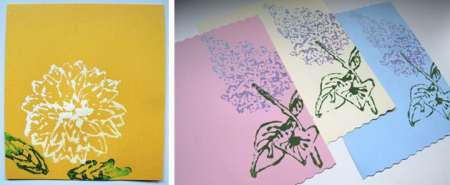
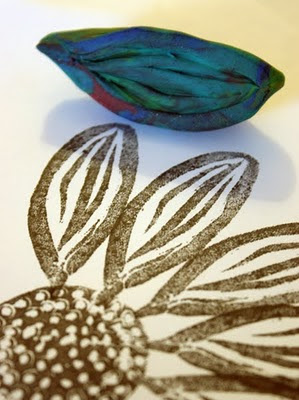
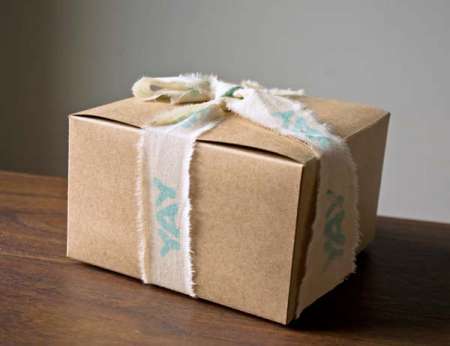
My favorite thing about stamping is the way virtually any found object can be used to create a stamp and add interesting textures. Household items like wine corks and yarn are classics, but there may be some items you haven’t considered yet for stamping. Plasticine clay can be rolled and molded to any shape, making it extremely versatile, or you can transfer any drawing to linoleum and carve
 your stamp with a few simple tools. If you’re looking for something a little less handmade, you can have your computer give you a hand for a professional look. Here are ten make-your-own stamp tutorials to meet all your stamping needs. Making your own stamps doesn’t have to be expensive or hard.
Making Your Own Stamps for Cardmaking
Cardmaking becomes even more special when you add a personal touch with custom-made stamps. Here’s a step-by-step guide on how to create your own stamps for unique and personalized cards:
Materials Needed:
- Stamping Surface:
- Rubber erasers, linoleum blocks, or carving blocks work well.
- Choose a material that’s easy to carve and suitable for your design size.
- Carving Tools:
- Craft knives or linoleum carving tools for intricate details.
- V-gouges for larger, deeper cuts.
- Pencil and Paper:
- Sketch your design on paper before transferring it to the stamping surface.
- Ink Pads or Paints:
- Select quality ink pads or fabric paints suitable for your cardstock.
Step-by-Step Process:
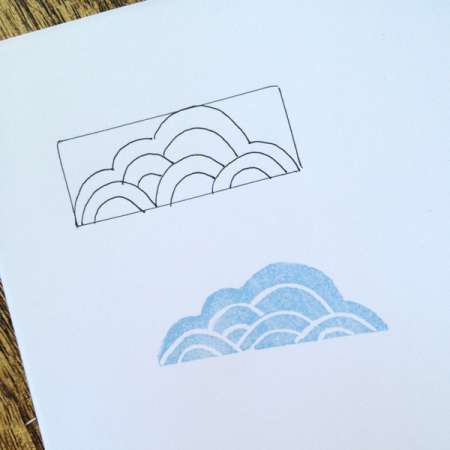
1. Design Your Stamp:
- Draw your desired design on paper, keeping in mind the size and intricacy.
- Simpler designs work well for beginners.
2. Transfer to Stamping Surface:
- Place the design on the stamping surface and trace over it with a pencil, transferring the design.
3. Carve the Stamp:
- Using carving tools, carefully carve away the areas around your design.
- Begin with the outer edges before working on finer details.
4. Test Your Stamp:
- Apply ink or paint to your stamp and make test impressions on scrap paper.
- Adjust the carving as needed for a clean and clear impression.
5. Experiment and Refine:
- Try different stamping surfaces and carving techniques.
- Refine your design based on trial prints.
6. Create a Set:
- Design a series of stamps that complement each other for versatile cardmaking options.
7. Seal and Preserve:
- Optionally, seal your finished stamp with a clear sealant or varnish to prolong its life.
Now you have your own custom stamps ready for cardmaking! Experiment with various colors and paper types to create beautiful and personalized cards for any occasion.
How-To: No-Carve Stamps – Make
Thank you for adding my post
DIY stamps part 1: Pencils and Yarn!
Sharing you also on my fb page