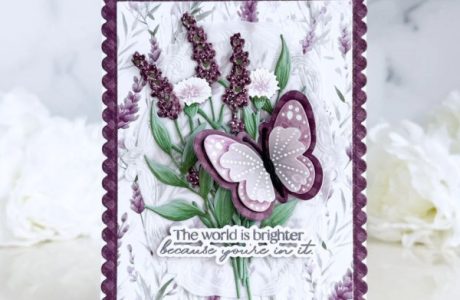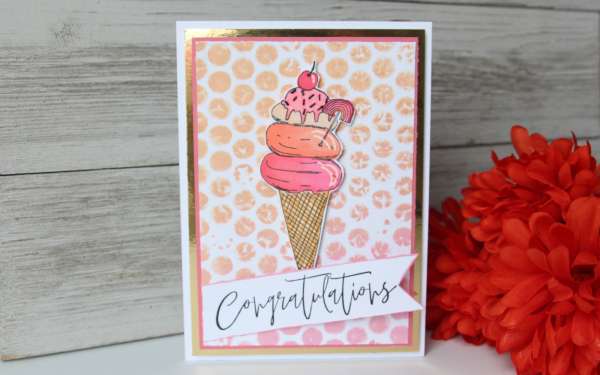
I love seeing stamping ideas using everyday objects found around the house. Emily used bubble wrap with different colors of ink sprays to create the background for this yummy Ice Cream Card. What a simple yet effective way to add color and texture!
Visit the Ecstasy Crafts blog for all the details.
If you’re anything like me, you’ve probably popped your fair share of bubble wrap while standing in the kitchen with a parcel in hand. But here’s the crafty twist — that humble packing material can create one of the easiest, most budget-friendly cardmaking backgrounds you’ll ever try.
This bubble wrap card background technique is a simple DIY stamping method that transforms ordinary bubble wrap into a reusable background stamp. It’s perfect for handmade cards, scrapbook layouts, art journals, and mixed media projects. Best of all? You probably already have everything you need at home.
If you’re looking for easy card background ideas, DIY stamping techniques, or budget-friendly cardmaking supplies, this one ticks all the boxes.
Why Bubble Wrap Makes the Perfect DIY Background Stamp
One of the biggest trends in handmade cardmaking right now is texture. Layered backgrounds, subtle dimension, and organic patterns are everywhere — and bubble wrap delivers that effortlessly.
The circular pattern mimics trendy polka dot background stamps, but with a softer, more imperfect finish that feels beautifully handmade. Each print is slightly different, giving your cards a custom look every single time.
Unlike traditional rubber or clear stamps, bubble wrap:
- Creates random, organic texture
- Works with ink, acrylic paint, and distress oxides
- Can be cut into any size
- Is completely free and reusable
- Adds instant visual interest to plain cardstock
For beginner cardmakers, this is an approachable way to experiment with background stamping techniques without investing in expensive supplies. For seasoned crafters, it’s a fantastic way to add mixed media layers and depth.
How to Use Bubble Wrap for Card Backgrounds
The beauty of this DIY bubble wrap stamping technique is its simplicity. You can use it in multiple ways depending on your cardmaking style.
- Press ink directly onto the bubble side and stamp onto cardstock
- Apply acrylic paint with a brayer for bold texture
- Use distress inks for softer blended backgrounds
- Layer multiple colors for a modern mixed media effect
- Stamp lightly for subtle texture or firmly for bold polka dots
This technique works beautifully for:
- Birthday cards
- Baby shower cards
- Thank you cards
- Christmas card backgrounds
- Art journal pages
- Scrapbooking layouts
You can even cut the bubble wrap into strips to create borders or partial backgrounds for a more controlled design.
Perfect for Budget-Friendly Cardmaking
Let’s be honest — crafting supplies add up quickly. Specialty background stamps, layering stencils, embossing folders… it’s easy to fall down the rabbit hole.
That’s why I love sharing low-cost cardmaking techniques like this one. Bubble wrap gives you a modern dotted background effect without spending a cent. It’s a brilliant way to stretch your supplies and think creatively about what’s already in your home.
If you craft with grandkids, this is also a wonderful sensory activity. There’s something nostalgic and joyful about bubble wrap that makes crafting feel playful again.
Add Texture and Depth to Your Handmade Cards
The secret to professional-looking handmade cards often comes down to layering. A simple stamped sentiment over a textured background instantly looks more polished and intentional.
This bubble wrap background technique adds:
- Movement
- Dimension
- Subtle pattern
- Visual layering
- Handmade charm
And because the impressions are slightly imperfect, they add warmth and personality that perfectly smooth stamps sometimes lack.
If your cardmaking has been feeling a little repetitive lately, trying a new DIY card background idea like this can reignite your creativity. It encourages experimentation and helps you see everyday materials in a whole new way.
So next time you open a delivery, don’t toss that bubble wrap. Keep it on your craft desk. It might just become your favourite tool for creating quick, textured, eye-catching handmade card backgrounds.
-Heather