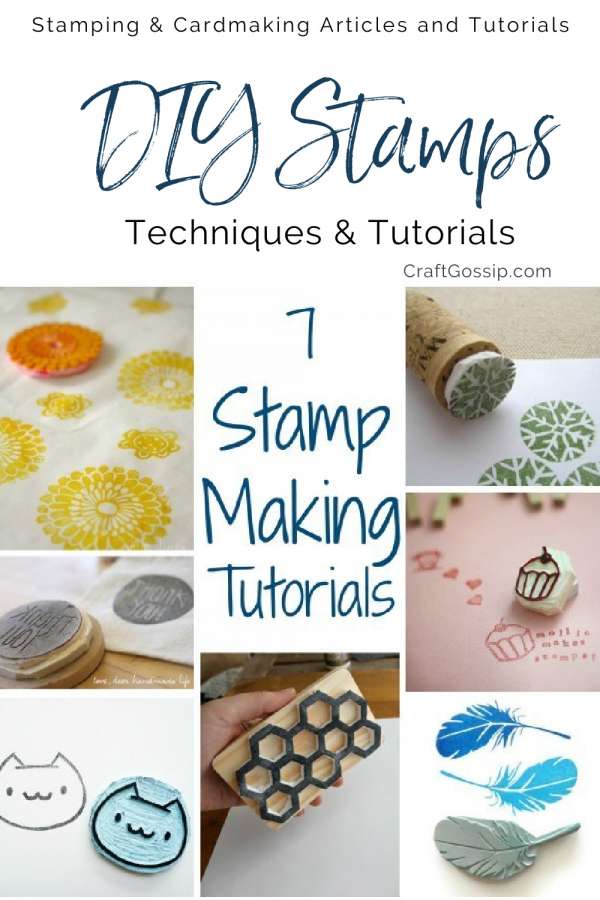
As much as we love to craft with stamps, it’s just a given fact that buying all of those adorable stamps we see at the stores can add up to be quite a bit of money. Have you ever tried making your own DIY stamps? There are different ways to do it, but today we are bringing you 7 tutorials/patterns to make your own rubber stamps. Not only does making your own stamps save you lots of money it also allows you to create unique designs to suit your own crafting styles. Home made stamps are a great way to add a little special something to your handmade cards.
Making Your Own Stamps for Cardmaking
Cardmaking becomes even more special when you add a personal touch with custom-made stamps. Here’s a step-by-step guide on how to create your own stamps for unique and personalized cards:
Materials Needed:
- Stamping Surface:
- Rubber erasers, linoleum blocks, or carving blocks work well.
- Choose a material that’s easy to carve and suitable for your design size.
- Carving Tools:
- Craft knives or linoleum carving tools for intricate details.
- V-gouges for larger, deeper cuts.
- Pencil and Paper:
- Sketch your design on paper before transferring it to the stamping surface.
- Ink Pads or Paints:
- Select quality ink pads or fabric paints suitable for your cardstock.
Step-by-Step Process:
1. Design Your Stamp:
- Draw your desired design on paper, keeping in mind the size and intricacy.
- Simpler designs work well for beginners.
2. Transfer to Stamping Surface:
- Place the design on the stamping surface and trace over it with a pencil, transferring the design.
3. Carve the Stamp:
- Using carving tools, carefully carve away the areas around your design.
- Begin with the outer edges before working on finer details.
4. Test Your Stamp:
- Apply ink or paint to your stamp and make test impressions on scrap paper.
- Adjust the carving as needed for a clean and clear impression.
5. Experiment and Refine:
- Try different stamping surfaces and carving techniques.
- Refine your design based on trial prints.
6. Create a Set:
- Design a series of stamps that complement each other for versatile cardmaking options.
7. Seal and Preserve:
- Optionally, seal your finished stamp with a clear sealant or varnish to prolong its life.
Now you have your own custom stamps ready for cardmaking! Experiment with various colors and paper types to create beautiful and personalized cards for any occasion.
Looking for more discussions about Card making? Check out our Facebook group for cardmaking.
Looking for more Digital papers? Check out Design bundle
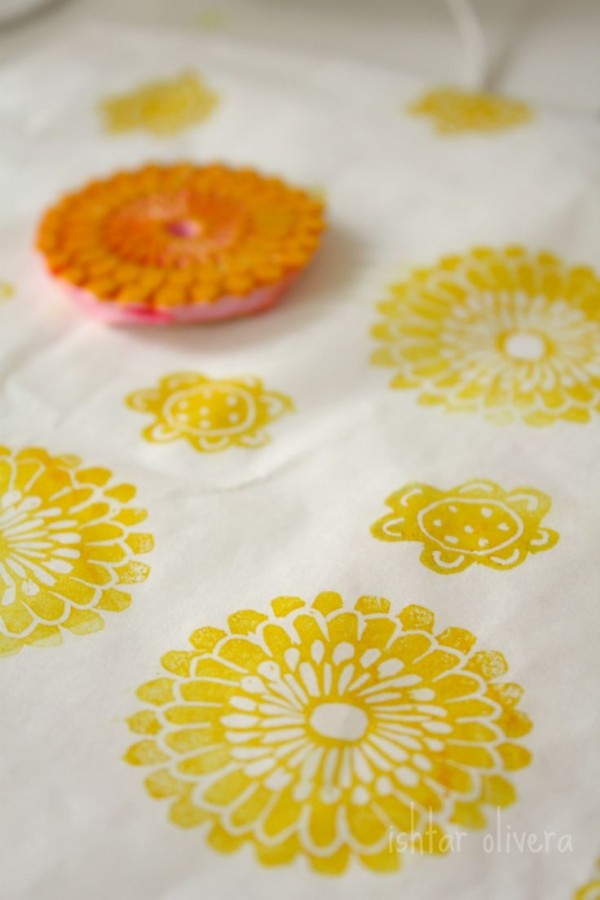
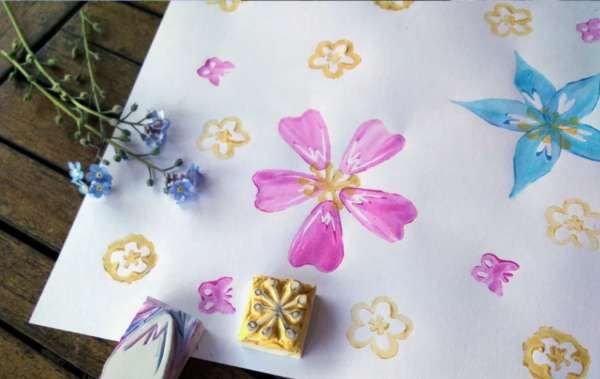
1- Flower Stamp from Ishtar Olivera
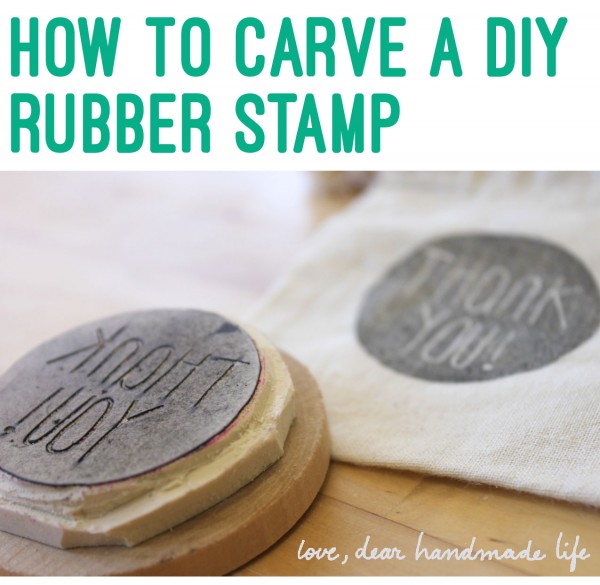
2- DIY Rubber Stamp Tutorial from Dear Handmade Life
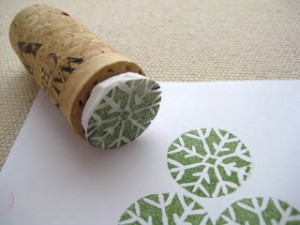
3- Carved Flower Stamps from Paris en Rose

4- Honeycomb Stamp from Lady Face Blog
5- Hand Carved Stamps from Leaf and Letter Handmade

6- Cupcake Stamp from Mollie Makes
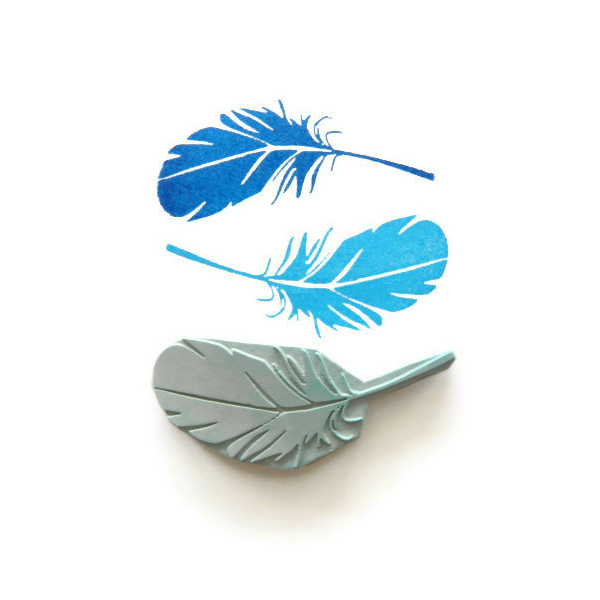
7- Feather Stamp from I Am The Lab